How to load a Creative Tonie in under 2 minutes
A step-by-step walkthrough — from MP3 download to first press of play. With screenshots from the Tonie app.
By The Little Ears Studio
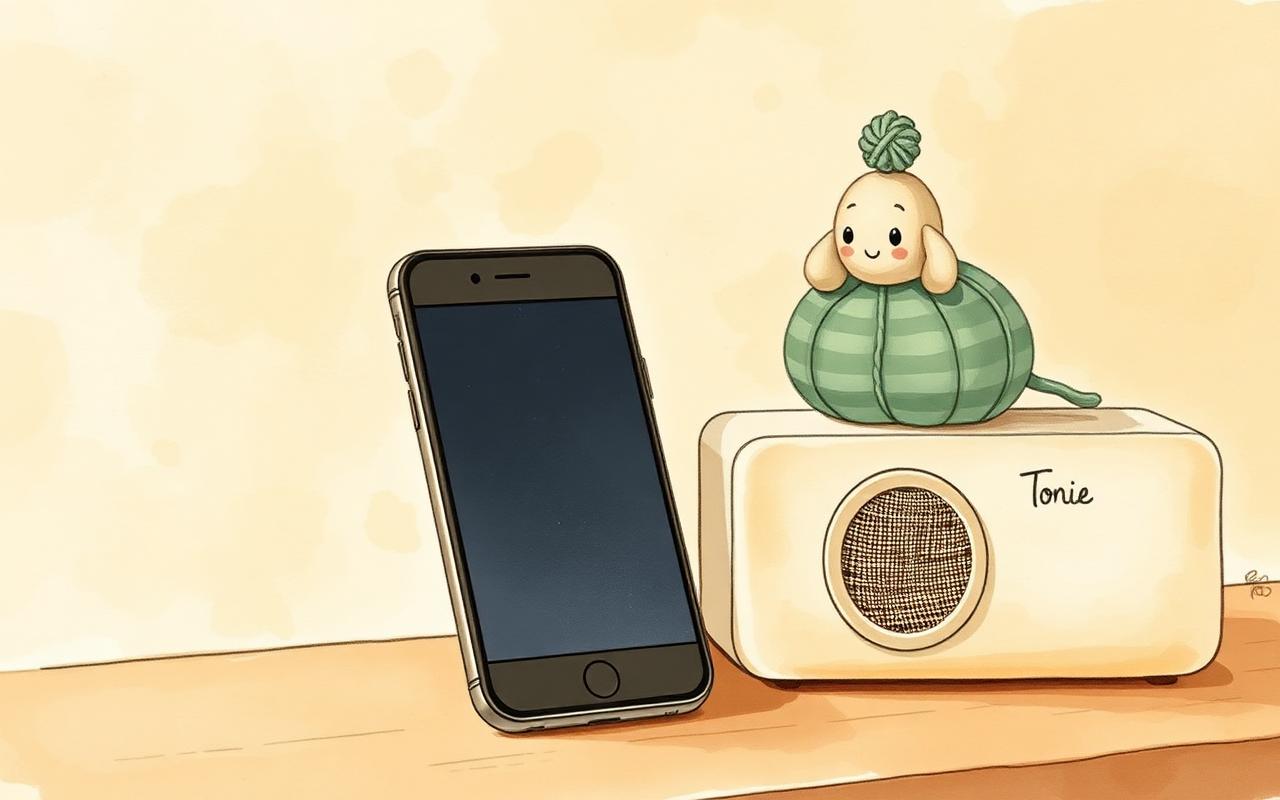
If you've just bought your first audio story from Little Ears, here's the good news: getting it onto a Creative Tonie takes about the same time as making a cup of tea. Here's the whole process, start to finish.
What you'll need
- A Creative Tonie (the paintable ones — not a story Tonie).
- The myTonies app on your phone (free, iOS and Android).
- Your downloaded MP3 from Little Ears.
Step 1 — Download your story
After you check out, your MP3 arrives by email and in your Little Ears library. Save it to your phone or computer. It's a standard MP3, so it works anywhere.
Step 2 — Open the myTonies app and pick your Creative Tonie
Tap the Creative Tonie you want to fill. If it's brand new, the app will walk you through pairing it to your Toniebox first.
Step 3 — Upload the MP3
Tap the “+” to add content, choose your downloaded file, and give the track a name your child will recognize (“Pebble's Treasure Hunt”). A Creative Tonie holds up to 90 minutes, so you can add several stories to one figure.
Step 4 — Place it on the Toniebox and press play
The first time, the box downloads the audio over Wi‑Fi (a minute or two). After that, it plays offline — perfect for the car, grandma's house, or a cabin with no signal.
A few tips
Fill one Tonie by theme — a “bedtime” Tonie, an “adventures” Tonie — so your child always knows what they're reaching for. And because the file lives in your library, you can reload it if you ever reset the figure.
That's it. One download, one upload, and a story your child can play again and again, entirely screen‑free.